| Cuffs are a pretty straight forward and common alteration. This particular pair of pants needs to come up exactly one cuff length (see white chalk mark at back crease of pant leg, right above cuff). When coming up exactly one cuff length, technically you can just use the old fold lines as marks and forego chalk lines, but I'll mark these anyhow. One thing to note: if you're coming up a partial cuff length, depending on the fabric and how well the old cuff was pressed in, you will see the old fold lines. In this case, I like to ask if the wearer would rather adjust the length or take a chance on having old fold lines show. They usually wash/press out unless there is considerable wear or khakis, but just to be safe... | 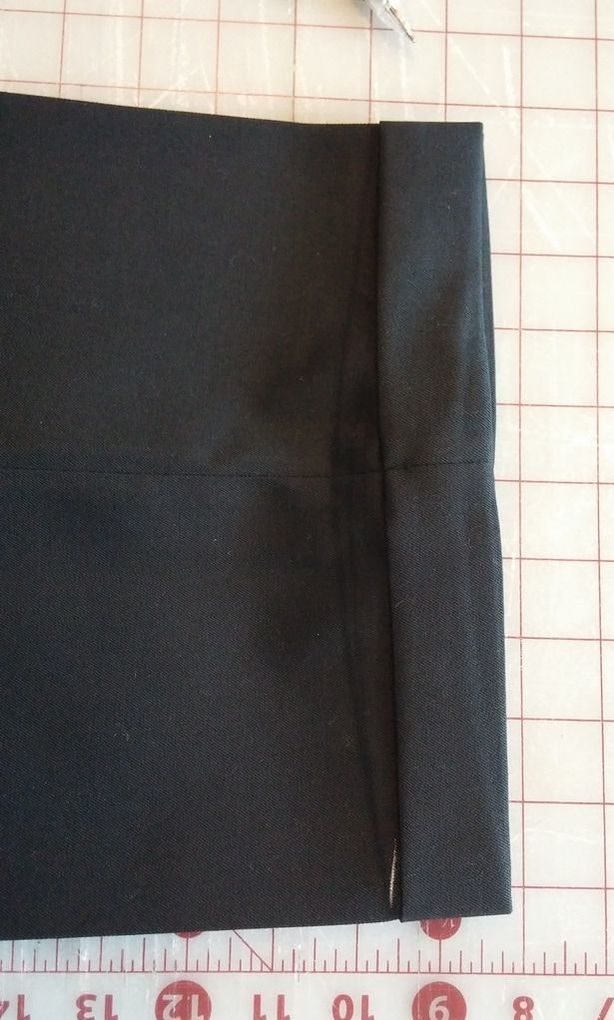 |
| First step, remove all the old stitching. Here we're looking at a bit of tacking, what's called Stitch In The Ditch. It's a small length of stitching (3 or 4 stitches) sewn right in the seam line so it disappears. This tacking is only on the side seams, not the front and back crease. | 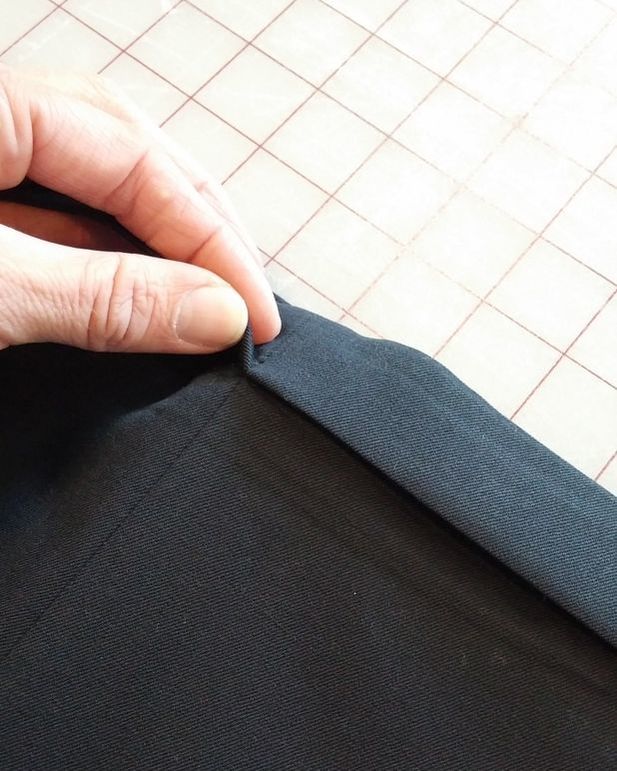 |
| Pull down the top edge of the cuff, slip a razor blade in, and cut the tacking. You can use a seam ripper or a pointy pair of nippers, but I find that once you get comfortable with a razor blade, it's much faster than a seam ripper. As you can see, it's just sewn down for 1/4" or so, not very far. Cut the tacking on all four seams. | 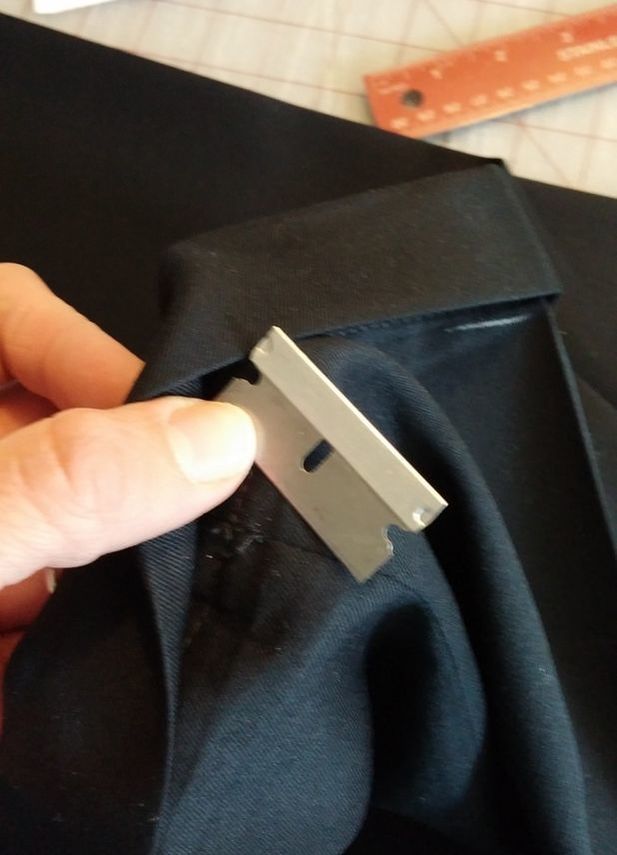 |
| Now we need to let down the hem. This pair has been top stitched (my personal preference because it requires one machine/thread change instead of 3) but cuffs are commonly blind stitched up as well. You'll know it's blind stitched if you can't see it from the outside. Men's trouser pants are typically blind hemmed, for example. A blind stitch is a chain stitch, which means that once you find the right spot on the thread, you can tug the thread and the whole hem will come undone. Super handy when you're wanting the hem out, not so handy when it comes out accidentally. These pants are top stitched, though, which makes for a little more work. | 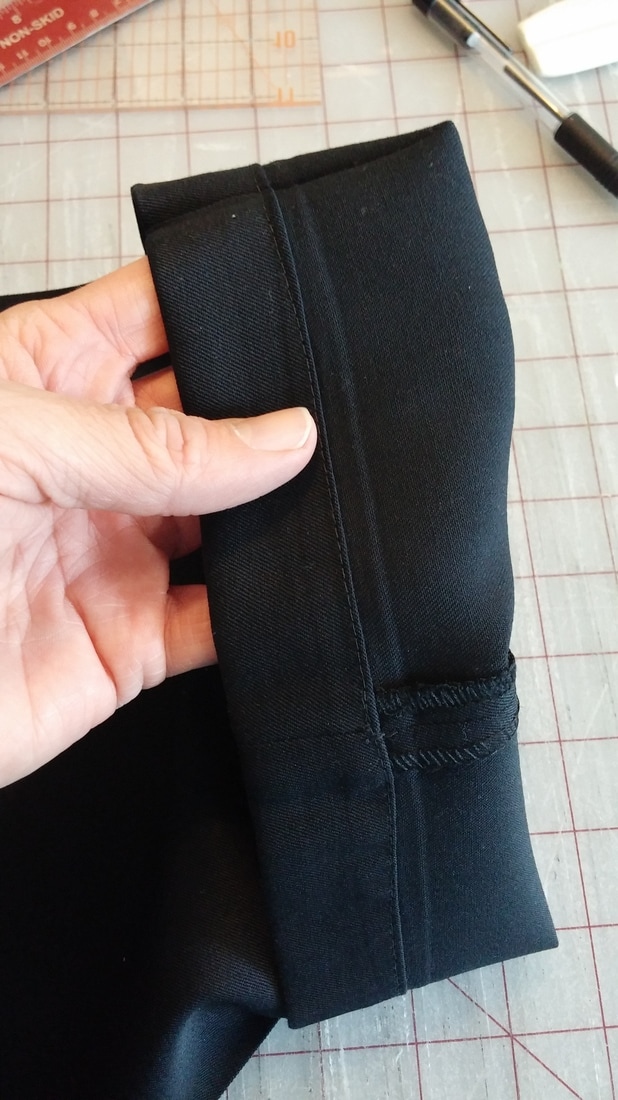 |
| Enter the razor blade, again! Seriously, once you get the hang of a razor blade, there's no going back. I tend to anchor the close side of the fabric between my hip and the table, and stretch the far side taut with my off hand, while sliding the blade between the layers of fabric, cutting the threads as I go. Be cautious near seams and folds, as the blade can tend to bind and you will be more prone to cut fabric that's not meant to be cut. Ease the blade along, and investigate any spot that binds so you don't cut fabric- just thread. Once the hem is out, press it all flat, but don't lose your mark for the new hemline. I like to put a pin in the back edge of the leg just to be safe. | 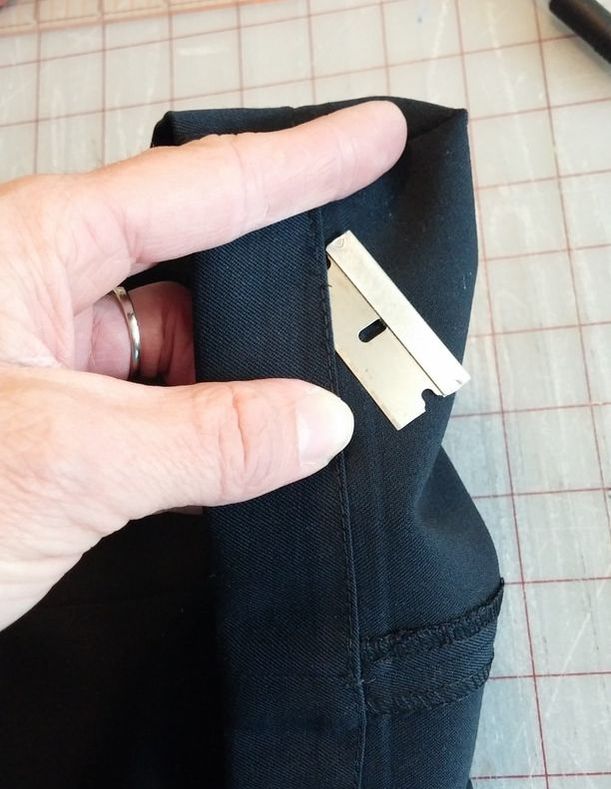 |
Now, this is where you would start the process if you're putting a cuff in an un-hemmed pair of pants (lucky you).
Fold the pants on the creases as if you were hanging them and lay them on their left side, waist on your left and hem on your right. Make sure your legs are smooth and flat because if you have one leg that's not stretched out smooth you will end up with different length legs. It helps to grab the waist in your left hand and the ends of the pants in your right and give them a little tug.
Ready to mark the new hem?
When I learned how to sew cuffs, I was taught to make 4 parallel chalk lines. These days, I sort of cut corners and will sometimes only make 1 and a quarter lines, but I'll show you the long way because it helps to understand what you're doing.
Lay your ruler with the edge where you want your final hem length to be (where the chalk mark from your fitting is!) Of course, I neglected to take a picture of this step. (Remember how I said I tend to cut corners? This is one corner I cut, or line I don't mark, to be precise.) However, you should be able to figure it our from the next few pictures.
| Right here, I'm marking the second row of lines, just to the right of the ruler. The first line should be just to the left of the ruler. (Handy tip: most cuffs are a standard ruler's width, so we can just use the previous line as a guide for the next. If you want significantly wider or narrower cuffs, this is where you would make an adjustment to allow for it.) If you look close, you can see that my chalk lines are right on top of the old fold line I warned you about. I could have used these lines rather than making new ones, but what fun would that be for you? | 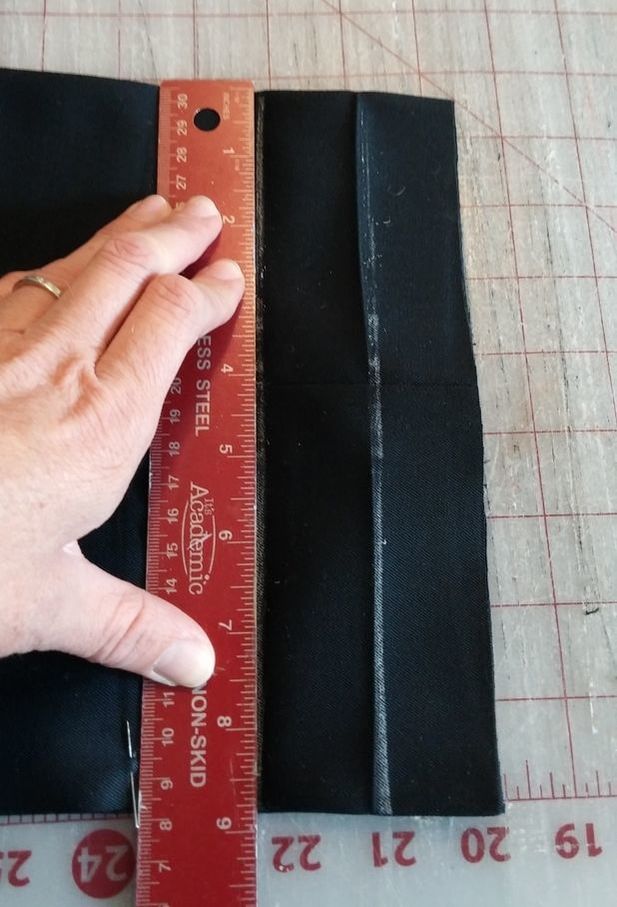 |
| Once you have drawn the line on the top layer, don't let go of your ruler. We're going to mark 2 more layers so our line will run all the way around the leg. Here you can see i'm lifting the top leg, pulling the fabric back, and have run my piece of chalk up against where the ruler meets the table. You should get two lines in one motion in this middle section between the legs. How's that for efficient? | 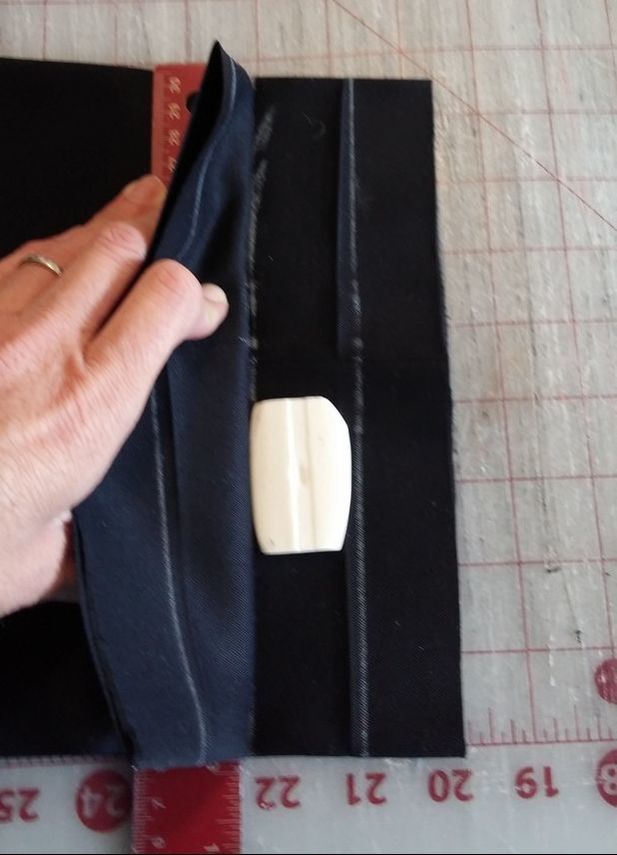 |
| Lift both legs, and run the chalk against the ruler again, making a line on the last bit of leg. Now, here's another spot where I could have taken better pictures, because you need to repeat this line drawing sequence 3 times. You should end up with 4 parallel lines, each a ruler's width apart. The far left line is your finished length and the far right line is where you need to cut. (My pants are already cut here!) FYI: The 2nd line is your fold line for the new top-stitch, and the 3rd line will end up on the bottom outside of the finished cuff and not really necessary, but it's handy to draw just for reference. | 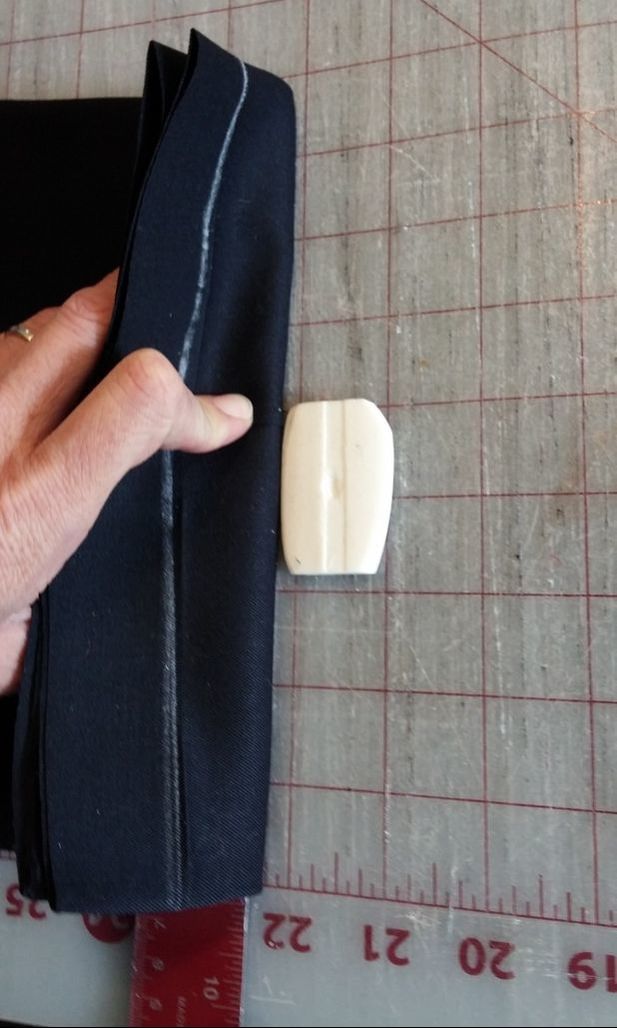 |
| Ok! Remember the 2nd line that I told you was your fold line for the new top stitch? We're going to use that one now. If you look at this view, you can't see the line, but it's on the left side, right where I've folded the pant leg up. The line you're seeing in the middle is the 3rd line we drew (the reference one), and where you will make the final fold to create the cuff. Try and keep extra fabric out of the way of this line, as it will bulk up your fold. So, I've folded on line #2 and am holding it flat, then I've turned under about 1/2" of the raw edge and pinned it down. I'm being careful to match the creases and the side seams as I fold so the cuff will lay flat. Stick at least 4 pins in, at each crease and seam (more if you like). | 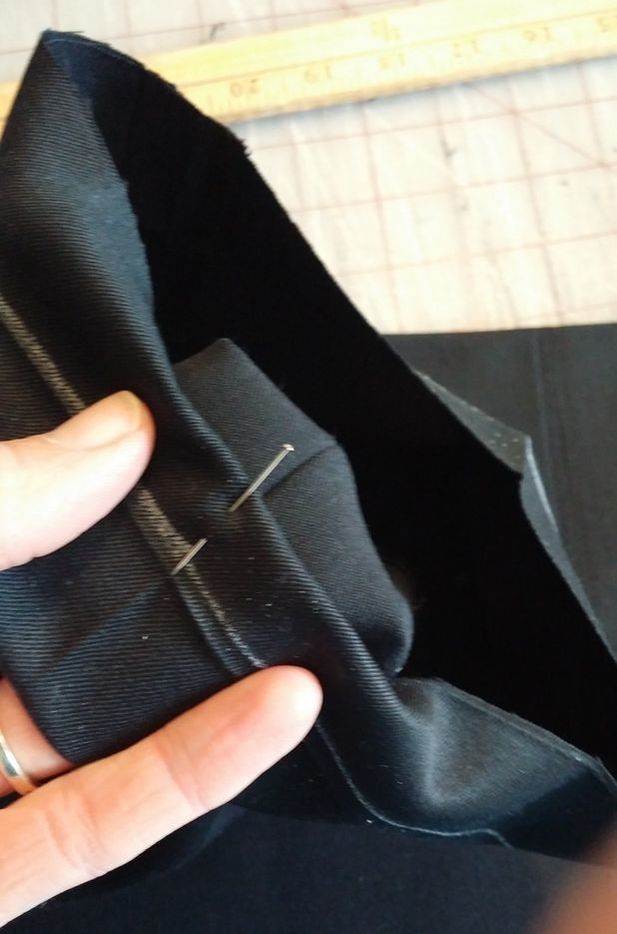 |
| We're ready to sew! Using a matching thread, stitch along the edge of your folded up hem, all around the leg. On the outside, this seam will be hidden behind the cuff, about halfway down. (Note: if we were finishing this hem with a blindstitch, we would have serged this raw edge instead of folding it, turned it up fully extended, and then blind hemmed. But like I said, 3 machines vs 1.) Repeat on the other leg! | 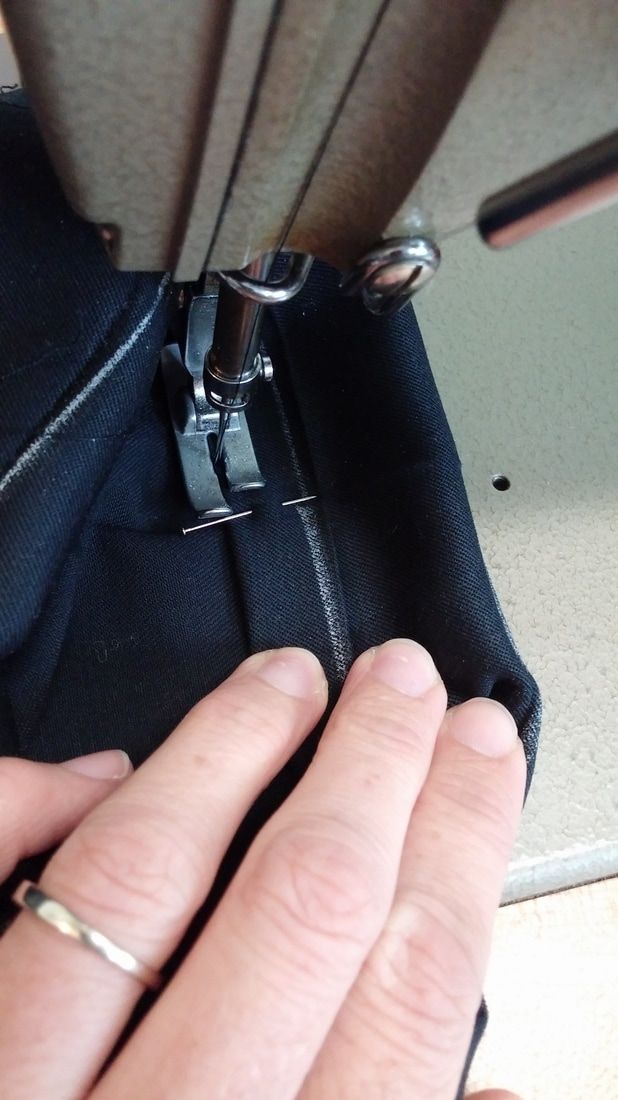 |
| Ready for the final fold? First think about your origami skills. Are you a sharp folder or a sloppy folder? Sloppy folders might want to press the hem flat right now, to help create a sharper cuff in the end. If you're a sharp origami folder, you can get away without pressing right now if you pay attention to detail. I like to point the end of the pants away from me, stick my thumbs on line #1, and fold the end of the pants back over my thumbs. See the cuff form itself? You want to make sure that the fabric on the inside of the fold goes all the way down so lines #1 and #3 are lined up at the bottom of the cuff, #1 being tucked down on the inside, #2 being visible on the top outside of the cuff, and llne #3 is on the bottom outside of the cuff. | 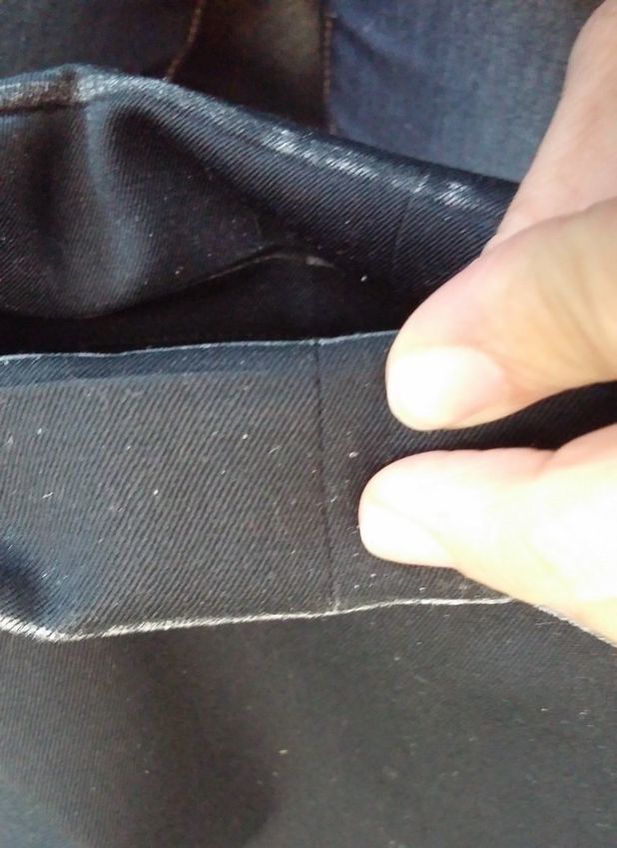 |
| Now, no matter how well you measured and marked and folded and sewed, things might have shifted, and we want this final cuff to be the same width all the way around the leg. I measure this final fold at the seams and at the creases. Fold the end of your hem back on line #3, then hold it against a ruler to double check. My ruler makes a 1 3/8" cuff width, but if you adjusted for a wider or narrower cuff earlier, here is where you would continue that width. If you need to adjust, go ahead until you get it right on, and then secure it. | 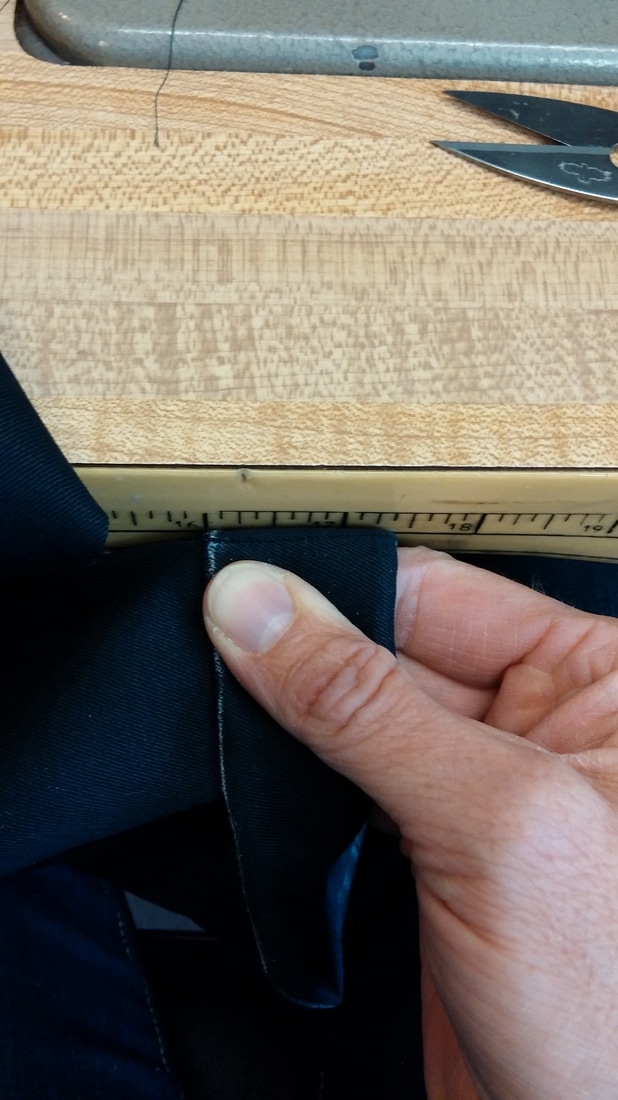 |
| Tack the cuff up at the seams with a stitch-in-the-ditch. If you're careful with your tacking, no one will ever know it's there. Hint: the shorter your stitch length, the easier it is to stay accurate in these small spaces, but don't go overboard. No one likes to pick out miniscule stiches when you inevitably need to. | 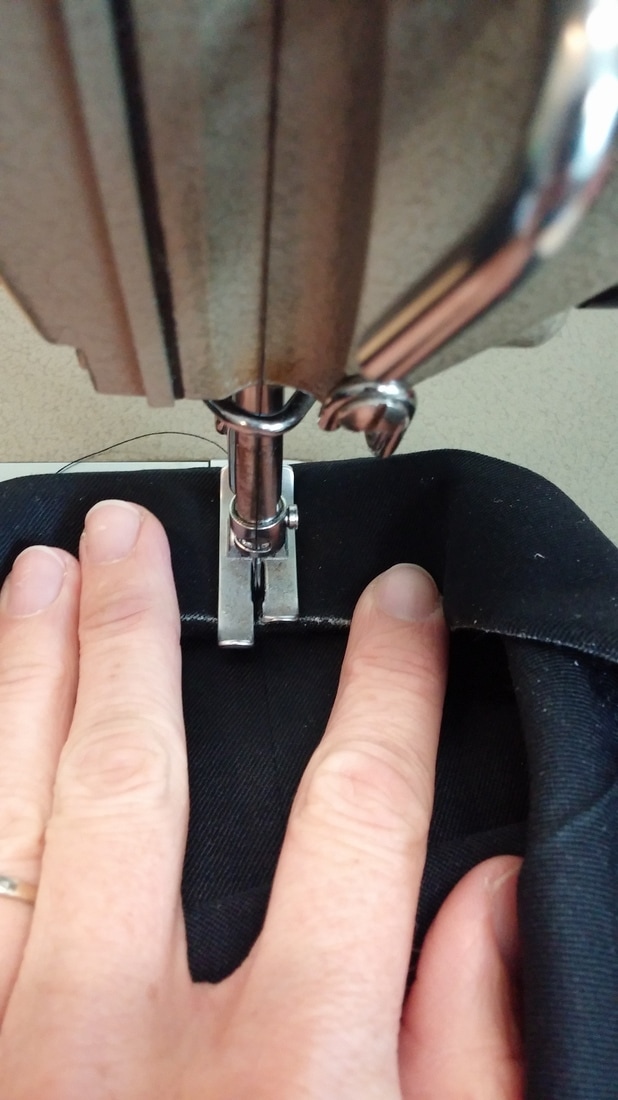 |
| See? No sign of the stitch-in-the-ditch. It's hiding in that seam and holding the cuff in place right where we want it. | 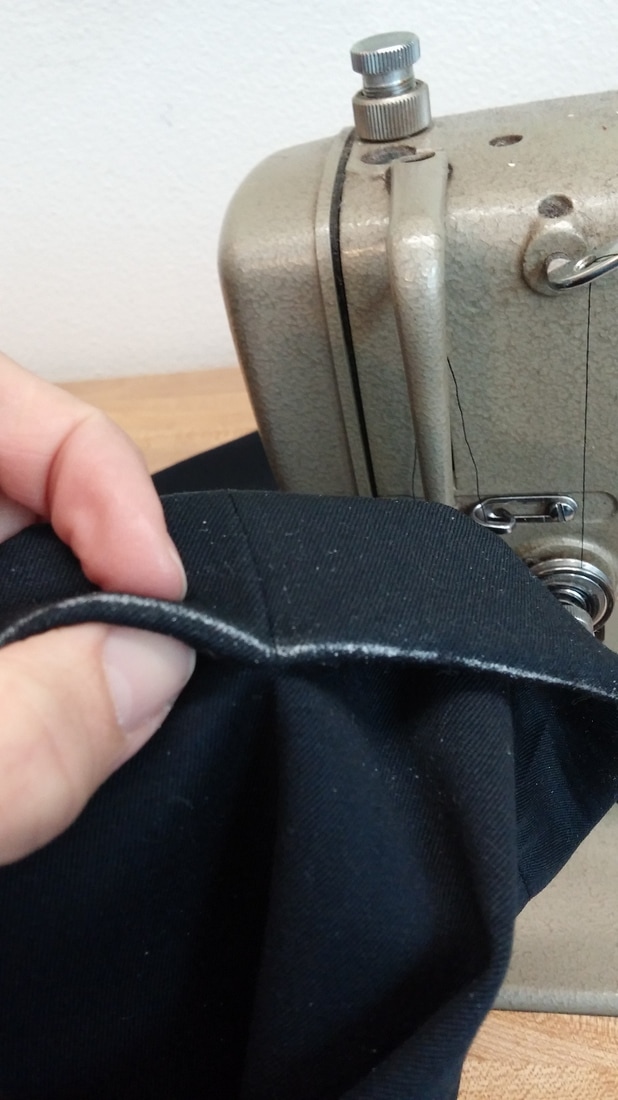 |
| Measure the cuff up at the creases also, and pin it in place until we can press it. | 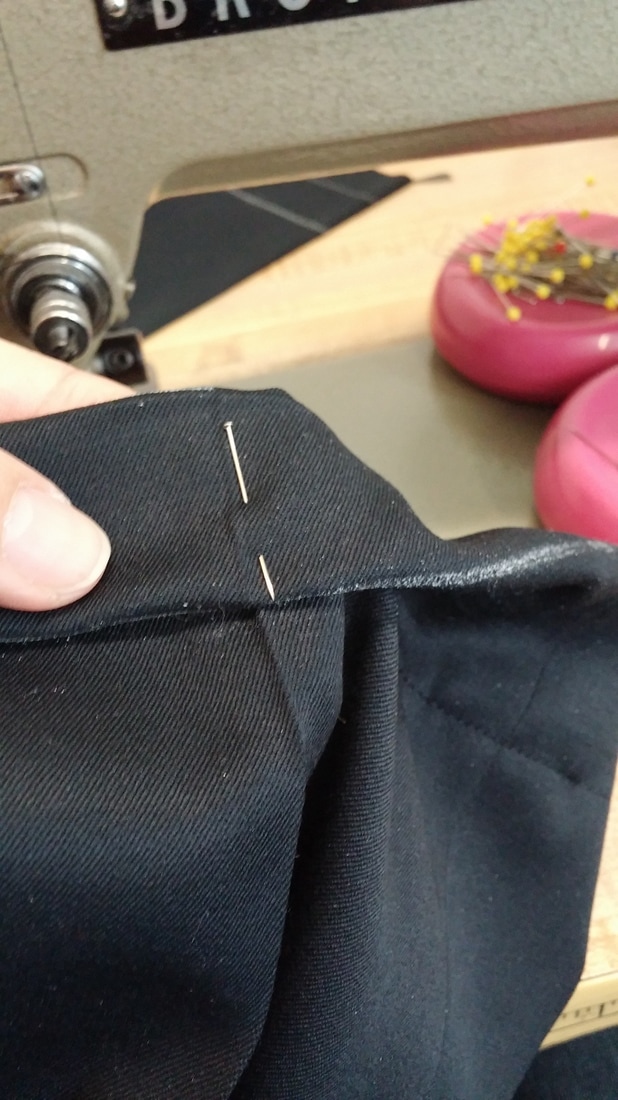 |
| Voila! Well, almost. They're still pretty sloppy looking. It's time to press the living daylights out of them. The sharper you can get the crease, the better your cuff will look. Use plenty of steam, being mindful of your fabric type. Most pants are make of pretty sturdy stuff that can withstand plenty of heat and steam, but some can be touchy. Know your fabrics! Press each leg separately, then flip the leg over and press from the other side. Don't forget to pull the pins out! If you're getting little ripples in the pant leg above the cuff, stretch the cuff wider as you press. | 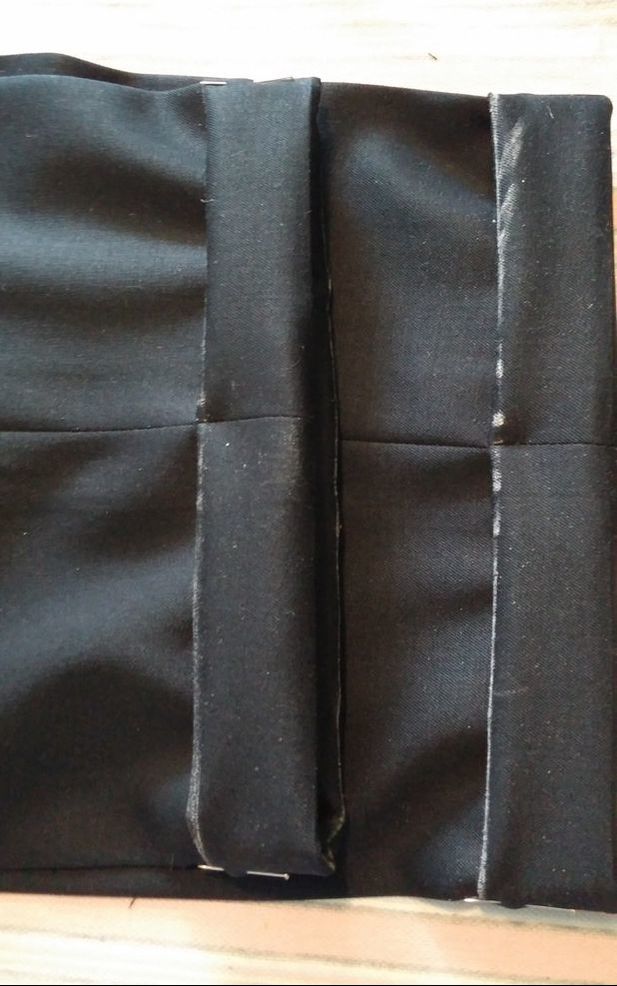 |
Is there something else you'd like to learn how to alter? Let me know and I'll try and document the next one that comes through my shop.